
How To Build A Patio: Step By Step
Your Complete Guide To Building Your Own Patio In WA
Building your own patio is easier than you think with a DIY kit and the appropriate project planning. This step-by-step guide walks you through the whole process — from the footings to the gutters — so you can build with confidence. Every kit comes with clear installation instructions and our free Installation Workshop; engineering drawings are an optional extra if required.
Patio Kit Estimator
Get an instant patio kit estimate.
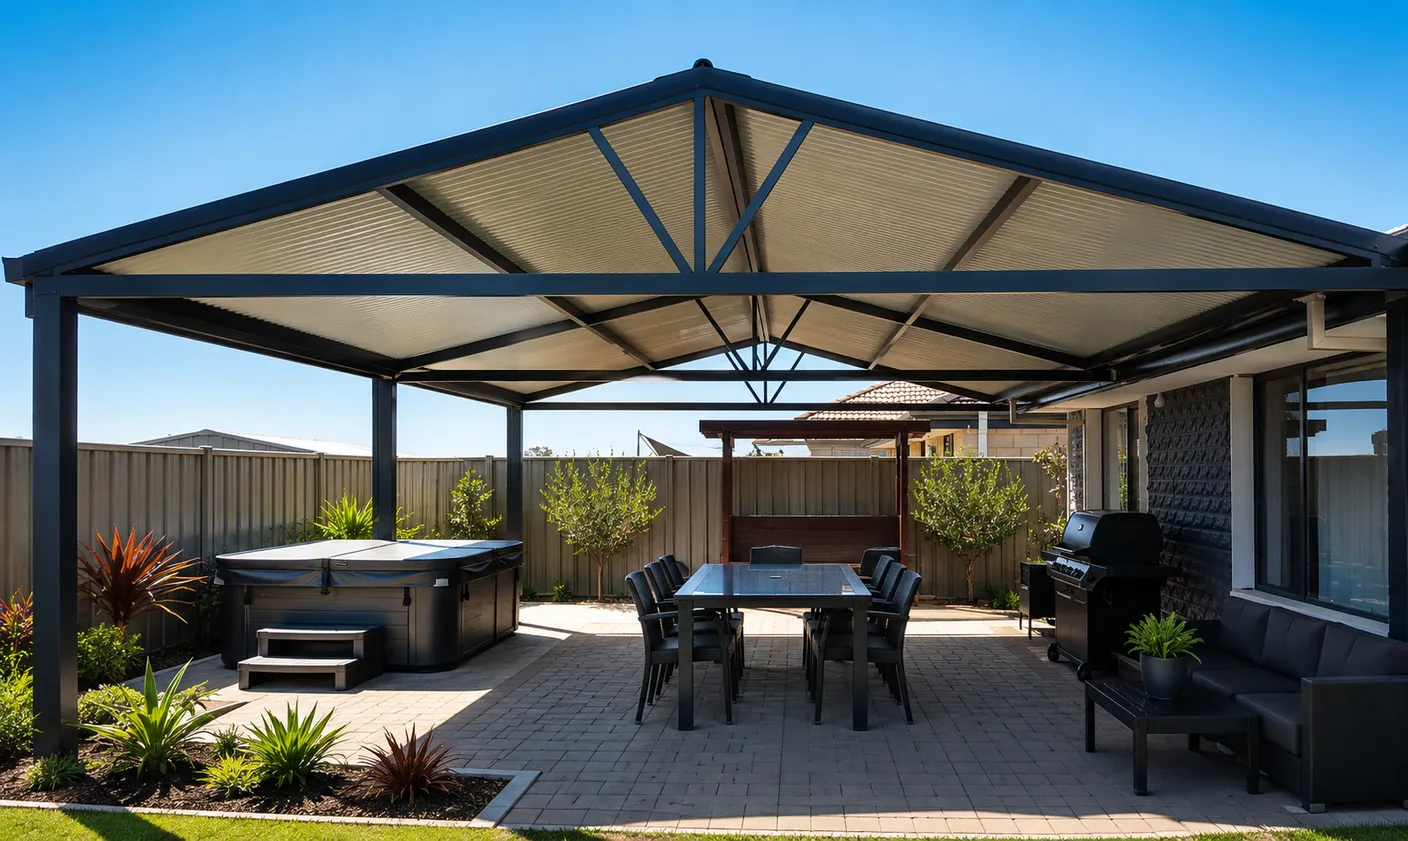
Traditional corrugated steel patio roofing.
From
$35 pw*
Total Price
$4,760
Incl GST
This estimate is a guide. It uses your chosen size, design and Corrugated roofing. Standard estimates do not include optional engineering unless we say so. If needed, engineering is priced on its own in every region. Your final price also depends on colour, roofing and site needs. The weekly figure is a 36-month example. It does not confirm an available finance product or term.
Free 1-Hour Workshop
Buy the kit. We'll show you how your patio kit goes together before you start.
LEARN ABOUT THE FREE WORKSHOPCAN YOU BUILD A PATIO YOURSELF?
Absolutely. Our DIY patio kits are designed for owner-builders — components arrive pre-cut and pre-punched, with step-by-step installation instructions. Engineering drawings are separate and can be arranged as an optional extra if required. With basic tools, a helper or two, and a bit of preparation, building your own patio is a rewarding project that saves you money. The key is taking your time on the early stages: accurate setting-out and properly poured footings make everything that follows far easier.
Your FREE One-Hour Installation Workshop
Every patio kit we supply includes a complimentary one-hour installation workshop — completely free of charge. It's a practical, hands-on session that walks you through your entire build before you start, so you can pick up your tools with total confidence.
At Our Bellevue Factory
Come in and see how your patio goes together in person. Our team will take you through the components and the build process at our factory and showroom.
3 Oliver Street, Bellevue WA 6056
Or By Video Call
Can't make it in? We'll run the same one-hour workshop with you over a video call — from your home or directly from your build site, anywhere in WA.
Live, one-on-one guidance from our team
Full Written Instructions As Well As The Workshop
The workshop is in addition to, never instead of, your documentation. Every single patio kit also arrives with detailed step-by-step written installation instructions and the engineering drawings for your project. You'll have both the guidance up front and the paperwork to refer back to at every stage of the build.
What Your Workshop Covers
Ready to build your own patio? Book your free one-hour workshop and our Bellevue team will make sure you're set up for success.
Patio kit customers receive a free one-hour installation workshop at our Bellevue factory or via video call, plus full written installation instructions with every kit.
BEFORE YOU START
A little preparation makes the build go smoothly. Tick these off first.
TOOLS YOU'LL NEED
Most of these are standard tools many DIYers already own.
Measuring & Marking
- Tape measure
- String line
- Spirit level
- Chalk line
- Square
Power Tools
- Cordless drill / impact driver
- Tek screw driver bits
- Angle grinder
- Extension leads
Hand Tools
- Sockets & spanners
- Rivet gun
- Ladders / trestles
- Post-hole shovel
Safety Gear
- Gloves
- Safety glasses
- Hearing protection
- Sturdy footwear
STEP-BY-STEP BUILD PROCESS
Follow these stages in order — always referring to your installation instructions and any engineering drawings arranged for your project.
- 1
Plan, Approve & Set Out The Site
First, check if you need a building permit. Mark the patio area with string lines. Mark each post from your plan. Measure corner to corner to check it is square.
- 2
Dig & Pour The Footings
Use the footing size and depth in your engineering drawings. If you have no drawings, get the right project details before you start. Brace each post straight. Pour the concrete and let it set.
- 3
Stand & Plumb The Posts
Place the posts over the footings or brackets. Make them straight in both directions. Brace them well. Check the heights and roof fall.
- 4
Fix The Beams & Attach To The House
Bolt the beams to the posts as shown in your plans. For an attached patio, fix the back beam to the home as shown. Keep it level. Add flashing to keep water out.
- 5
Install The Rafters & Battens
Fit the rafters at the spacing shown on your plan. Keep the frame square. Add the battens or top hats that hold the roof sheets. Check the roof fall again.
- 6
Lay The Roof Sheeting
Lay the roof sheets as shown on your plan. Use the right screws and overlap. Add flashing at the house. Fit the edge caps to keep water out.
- 7
Add Gutters, Downpipes & Finish
Fit the gutter and downpipes. Add any infill and trims. Clean the site. Check all work against your drawings before use.
SAFETY FIRST
Steel building work has real risks. Keep these in mind throughout your build.
COMMON DIY MISTAKES
Building your own patio or shed can save thousands of dollars, but there are some common mistakes that can make the project harder than it needs to be.
Not Checking Measurements Properly
Incorrect measurements can lead to ordering the wrong size structure. Always double-check your measurements before ordering.
Ignoring Council Requirements
Some patios and sheds may require approvals before construction begins. Failing to check this can cause delays and extra costs.
Building Footings Incorrectly
Footings are one of the most important parts of the structure. Footings that are too small, too shallow or incorrectly positioned can cause problems later.
Not Reading The Plans First
Many DIY builders rush straight into construction. Taking time to read the drawings and instructions before starting can prevent mistakes.
Not Checking Levels And Square
If posts, footings or frames are not level and square, the rest of the build can become much more difficult.
Tightening Everything Too Early
It is often easier to leave bolts slightly loose until the frame is fully assembled and aligned. Final tightening should happen once everything is in the correct position.
Working Without Enough Help
Large beams, roof sheets and structural components can be heavy and difficult to handle alone. Having extra help can make installation safer and easier.
Forgetting About Drainage
Good water drainage is important. Make sure gutters, downpipes and surrounding ground levels allow water to flow away from the structure.
Choosing Price Over Quality
Not all patio and shed kits are the same. Strong engineering, quality steel and correct components can make a big difference to the life of the structure.
Not Asking Questions
If you're unsure about something, ask. A quick phone call can often prevent hours of extra work.
BUILD WITH CONFIDENCE
Thousands of Australians successfully build their own patios and sheds every year. With the right planning, quality engineering and a little patience, a DIY project can be both rewarding and cost-effective.
WHY A KIT MAKES IT EASIER
Optional Engineering Plans
Engineering is not included in the standard kit price and can be arranged as an optional extra if required.
Free Installation Workshop
See how your patio goes together and ask questions before you start building.
Pre-Cut & Pre-Punched
Components arrive ready to assemble, reducing cutting, drilling and guesswork on site.
Real Support
Our Bellevue team is on hand to help throughout your build.
LEARN MORE
What Is Included In A Patio Kit?
See exactly what comes in a complete patio kit.
Read MoreColorbond Patio Options
Explore roofing styles and colours for your patio.
Read MoreEngineer Detail Patios
How patios are engineered for WA conditions.
Read MorePatio Cost Guide WA
Understand what drives the cost of a patio kit.
Read MoreFREQUENTLY ASKED QUESTIONS
READY TO BUILD YOUR OWN PATIO?
Get a DIY patio kit with clear installation instructions and free Installation Workshop support — plus optional engineering drawings if required — direct from our Bellevue factory.